AI Cloud View: Insight Portal Guide to Adding New Sites & NVRs
A step-by-step configuration guide for End-Users. Learn how to add new physical sites, activate your NVR, request additional licenses, and optimize your camera encoding for flawless cloud indexing.
Insight Portal Login
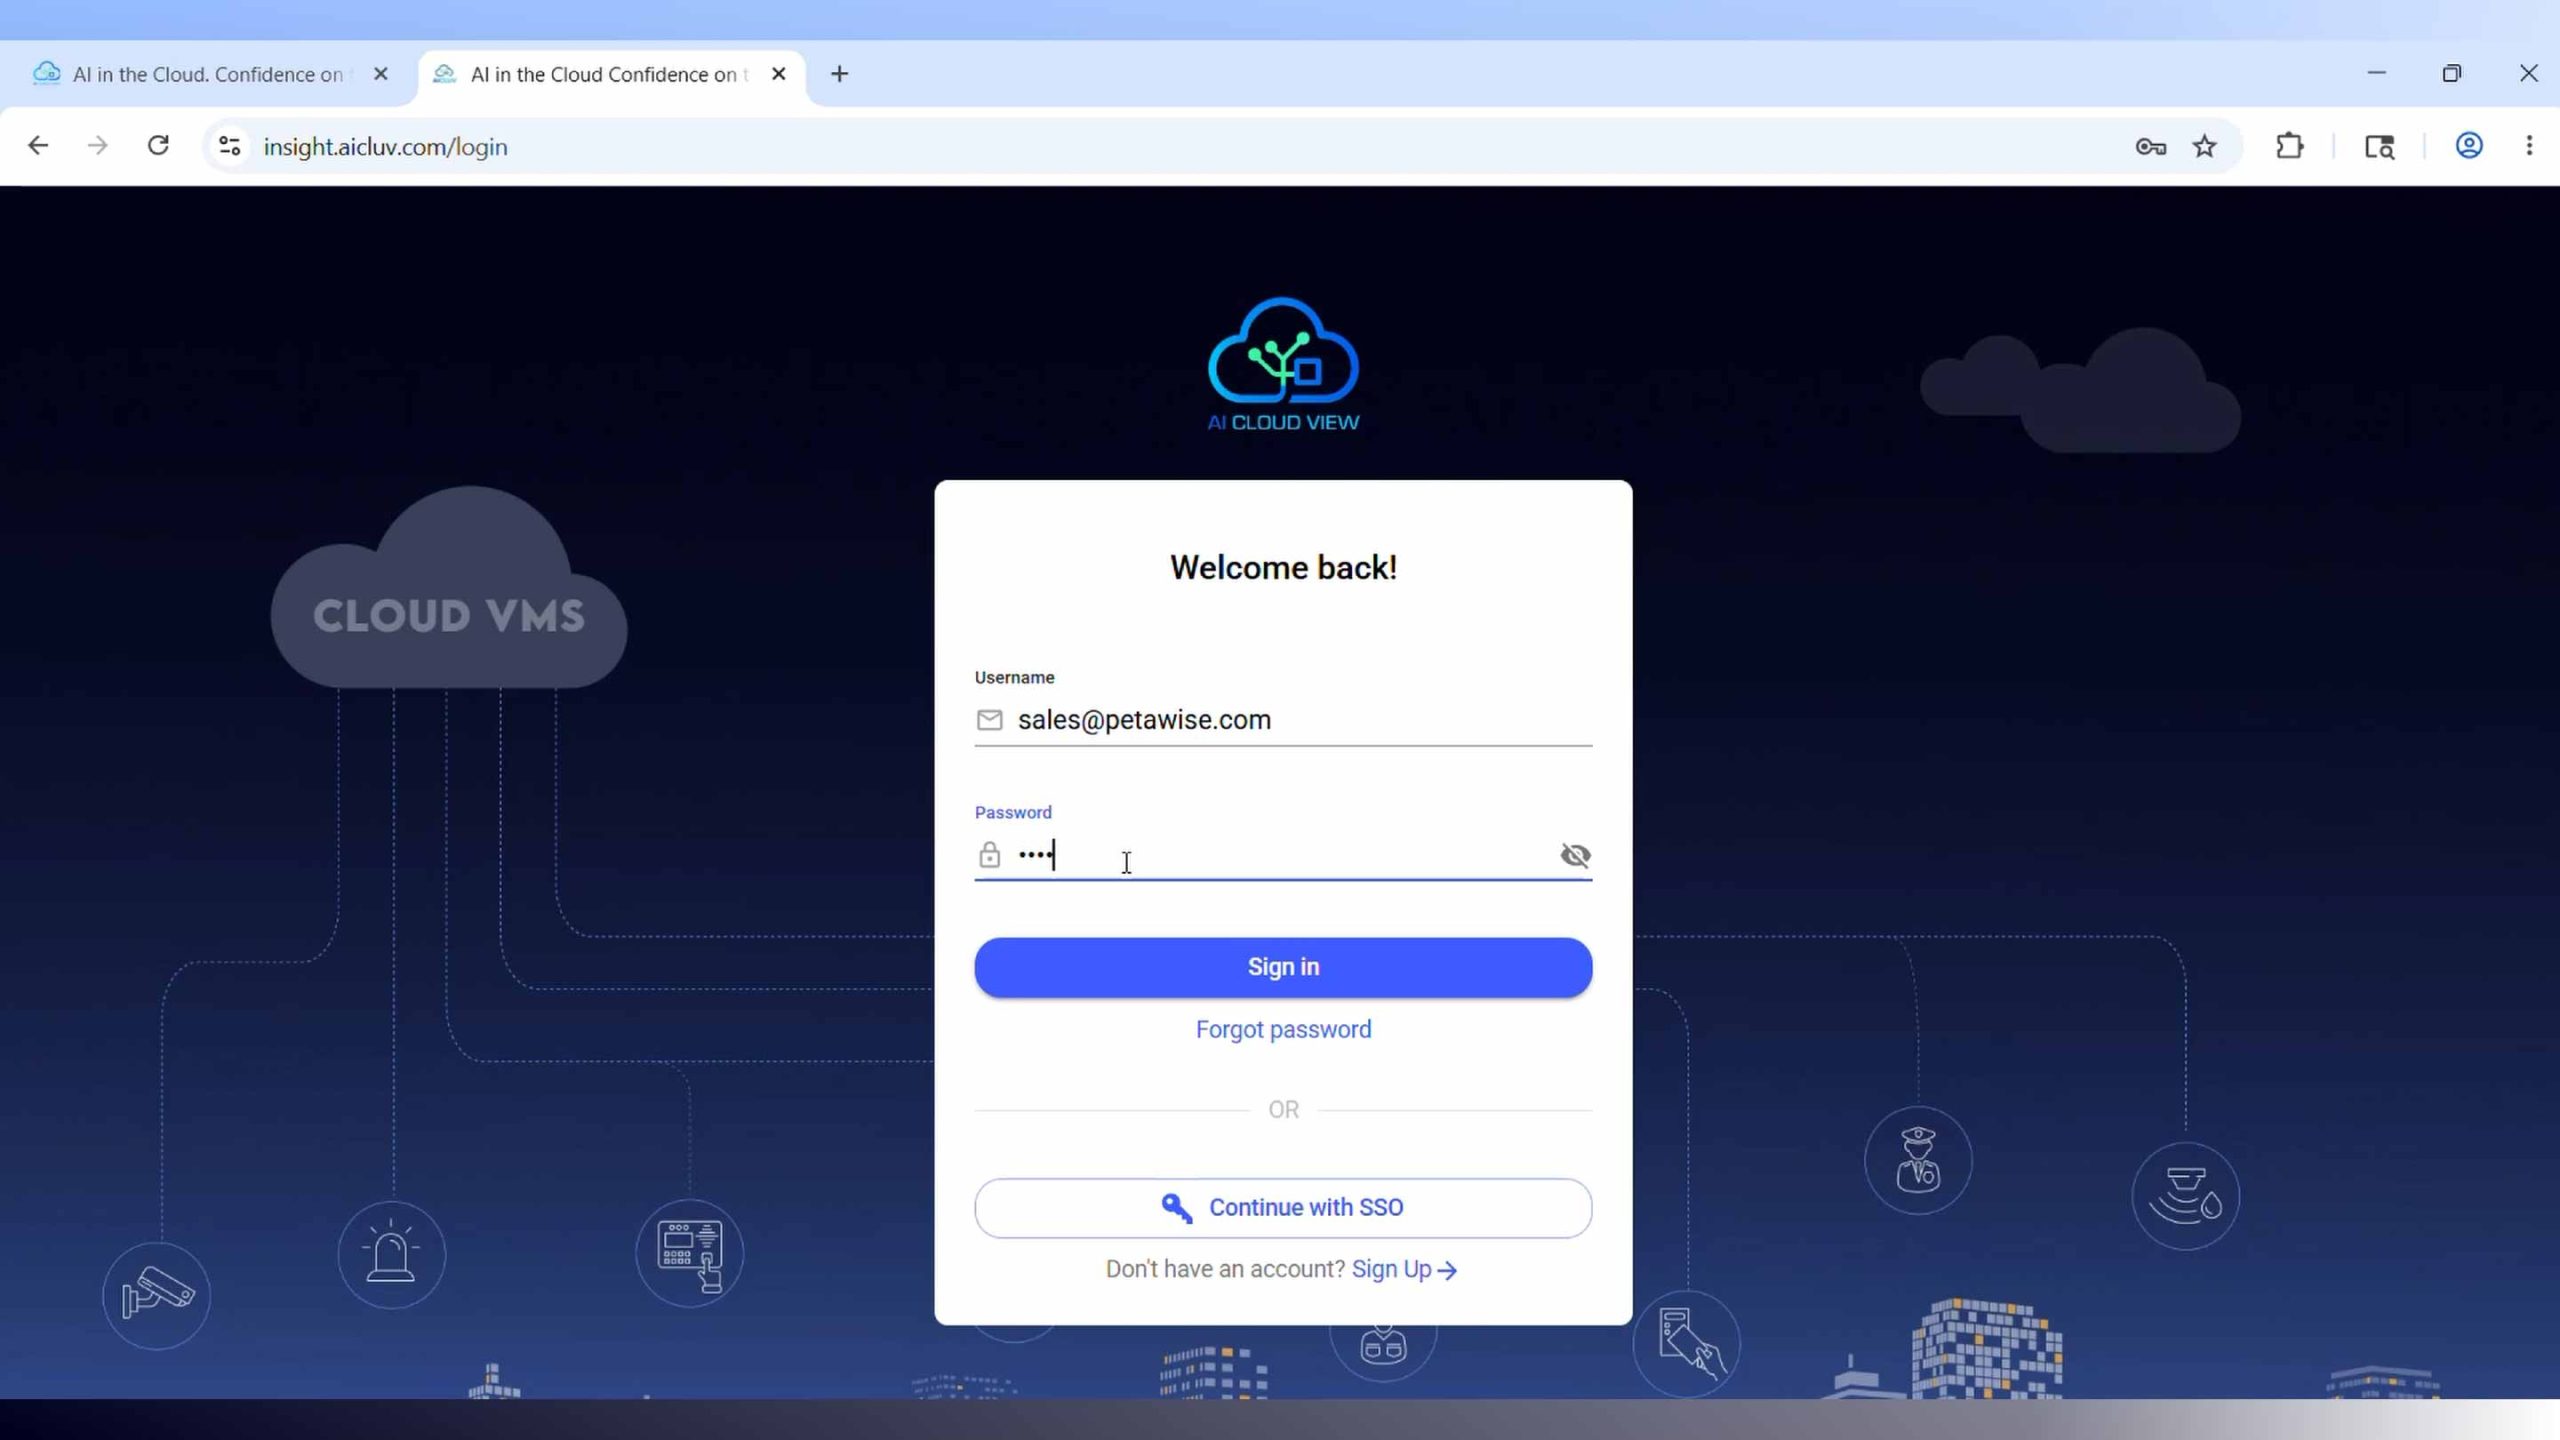
Head over to the AI Cloud View website and select the Client Portal at the top. Log in using your provided credentials to access your global ecosystem dashboard.
Create a New Site
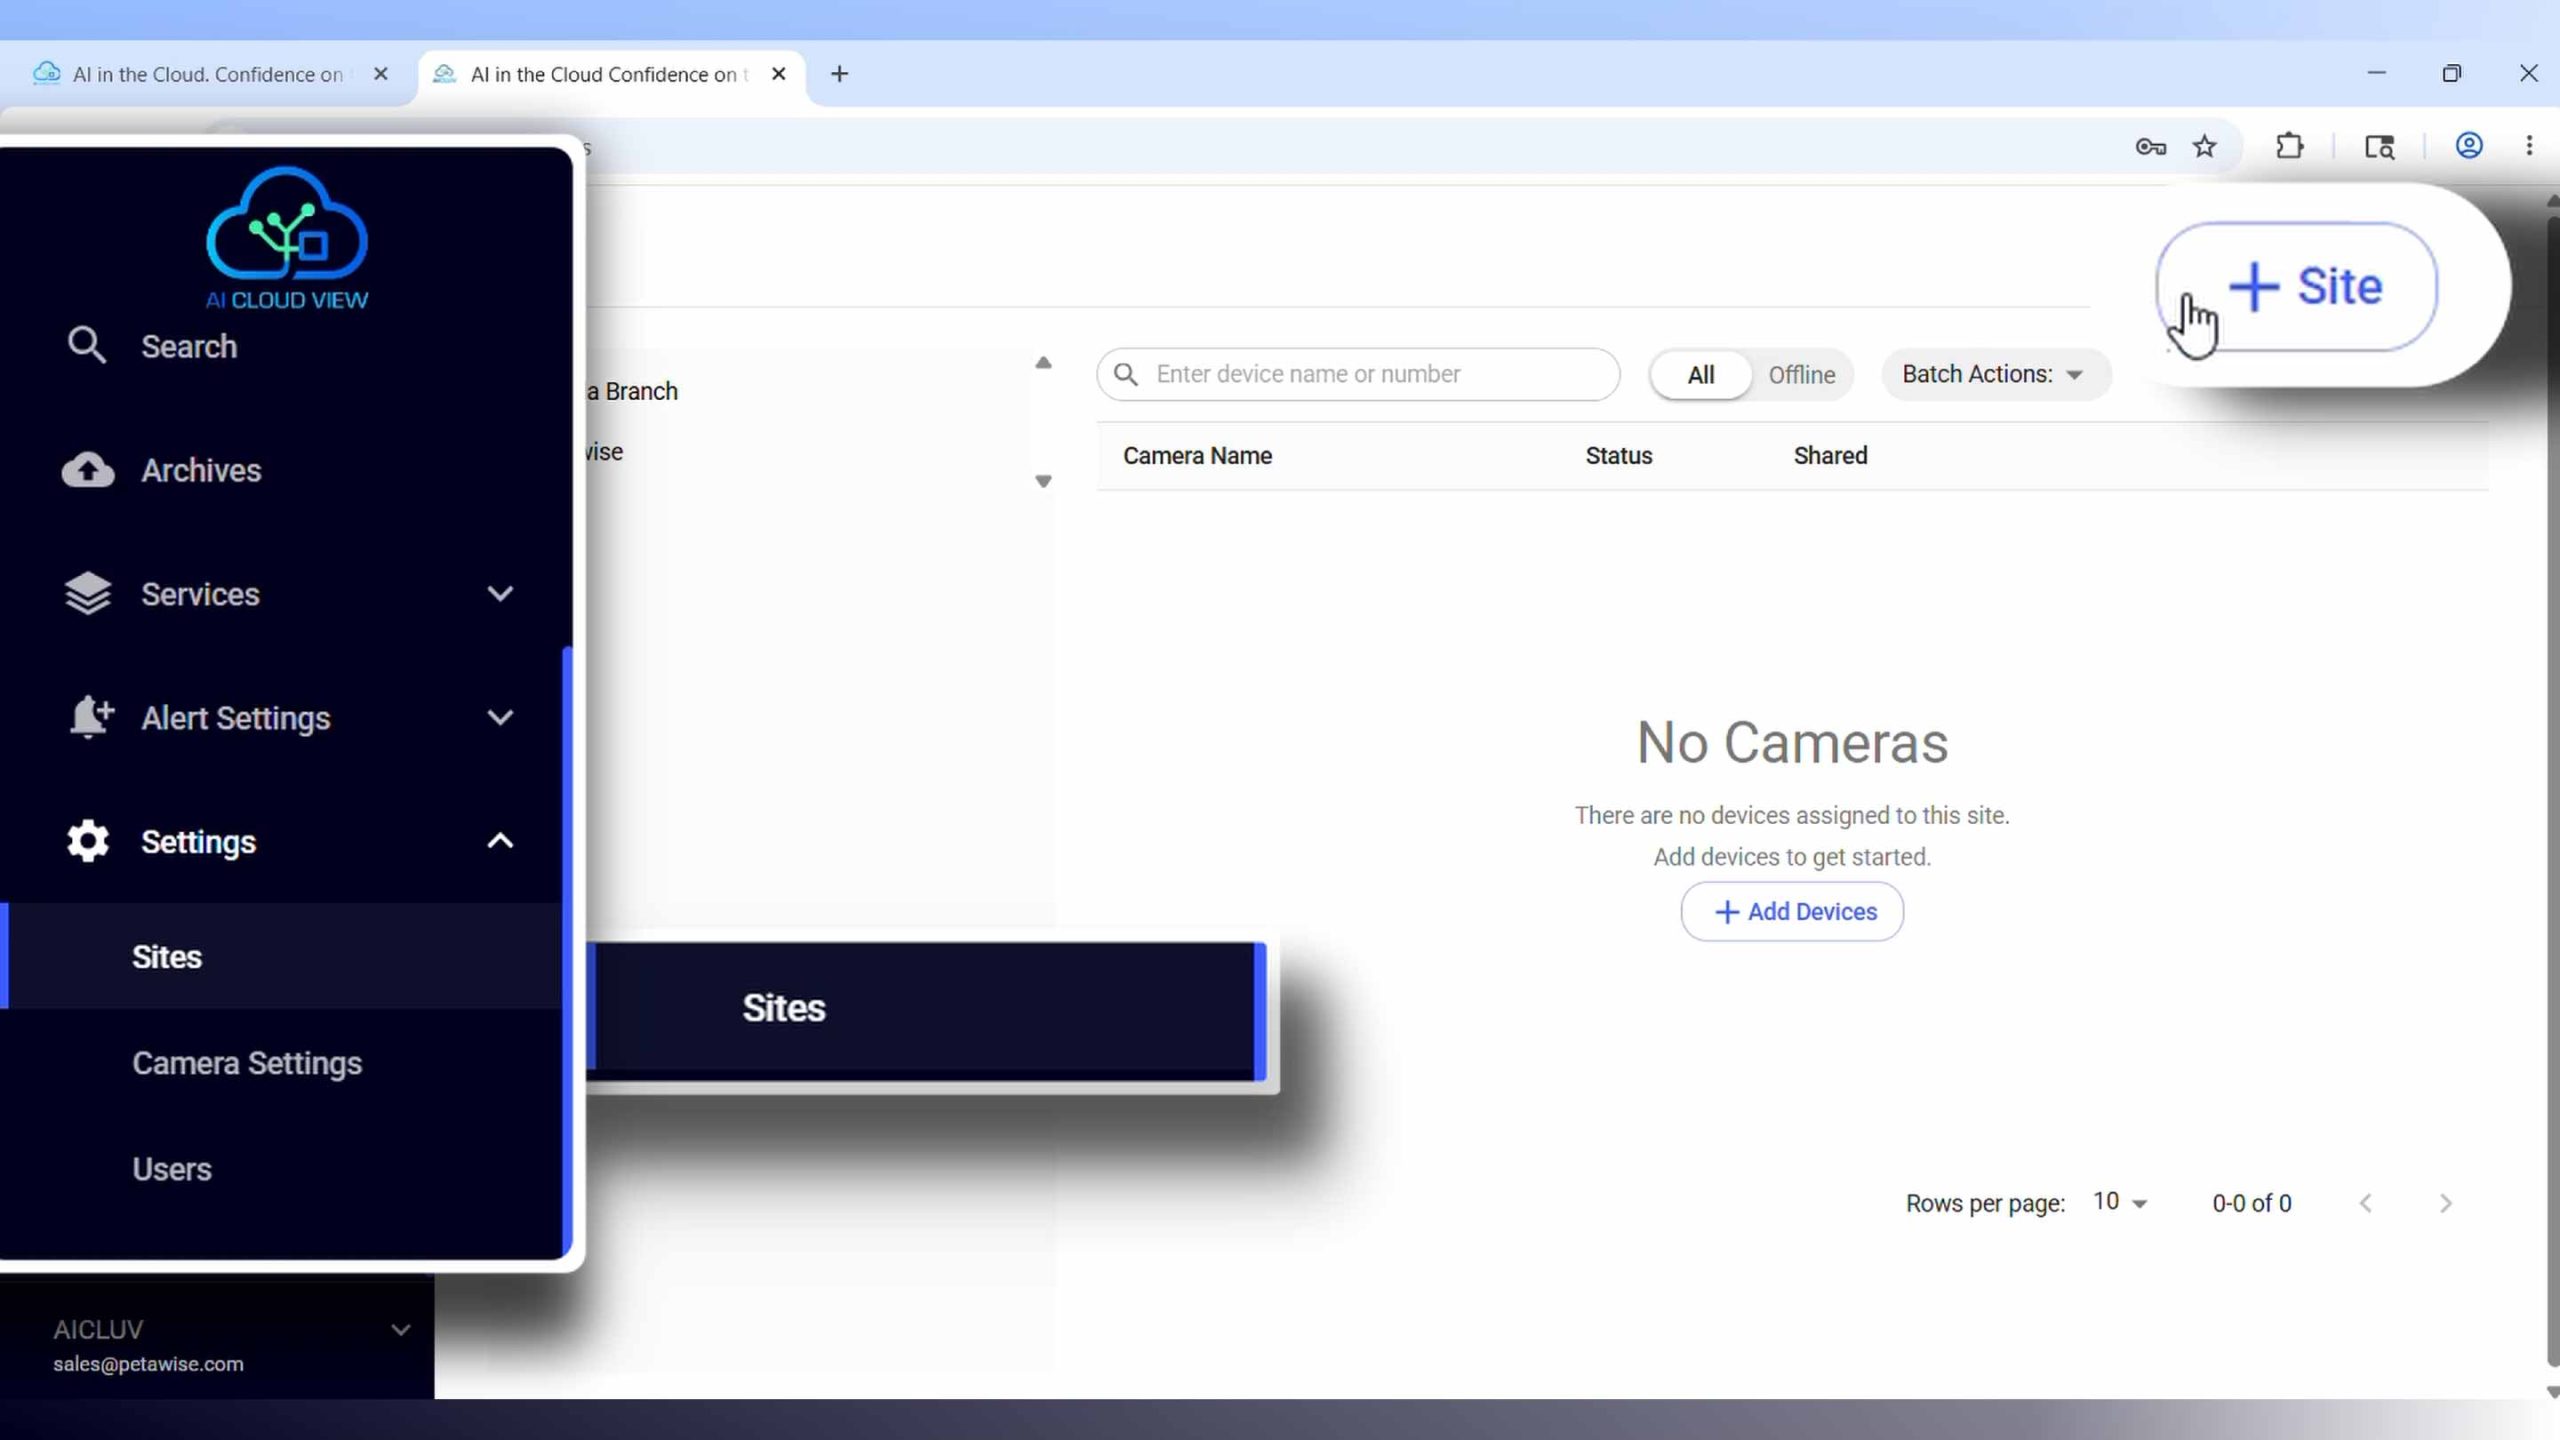
Navigate to the settings menu and click New Site. Give your site a descriptive name and begin typing the address. The built-in address engine will automatically pull up and pinpoint the location for you.
Add & Activate NVR
Use the Uniview Easy Tools utility on your local network to scan for your NVR’s MAC address. Input this unique MAC address into the portal, create a secure password, and hit confirm to activate the hardware.
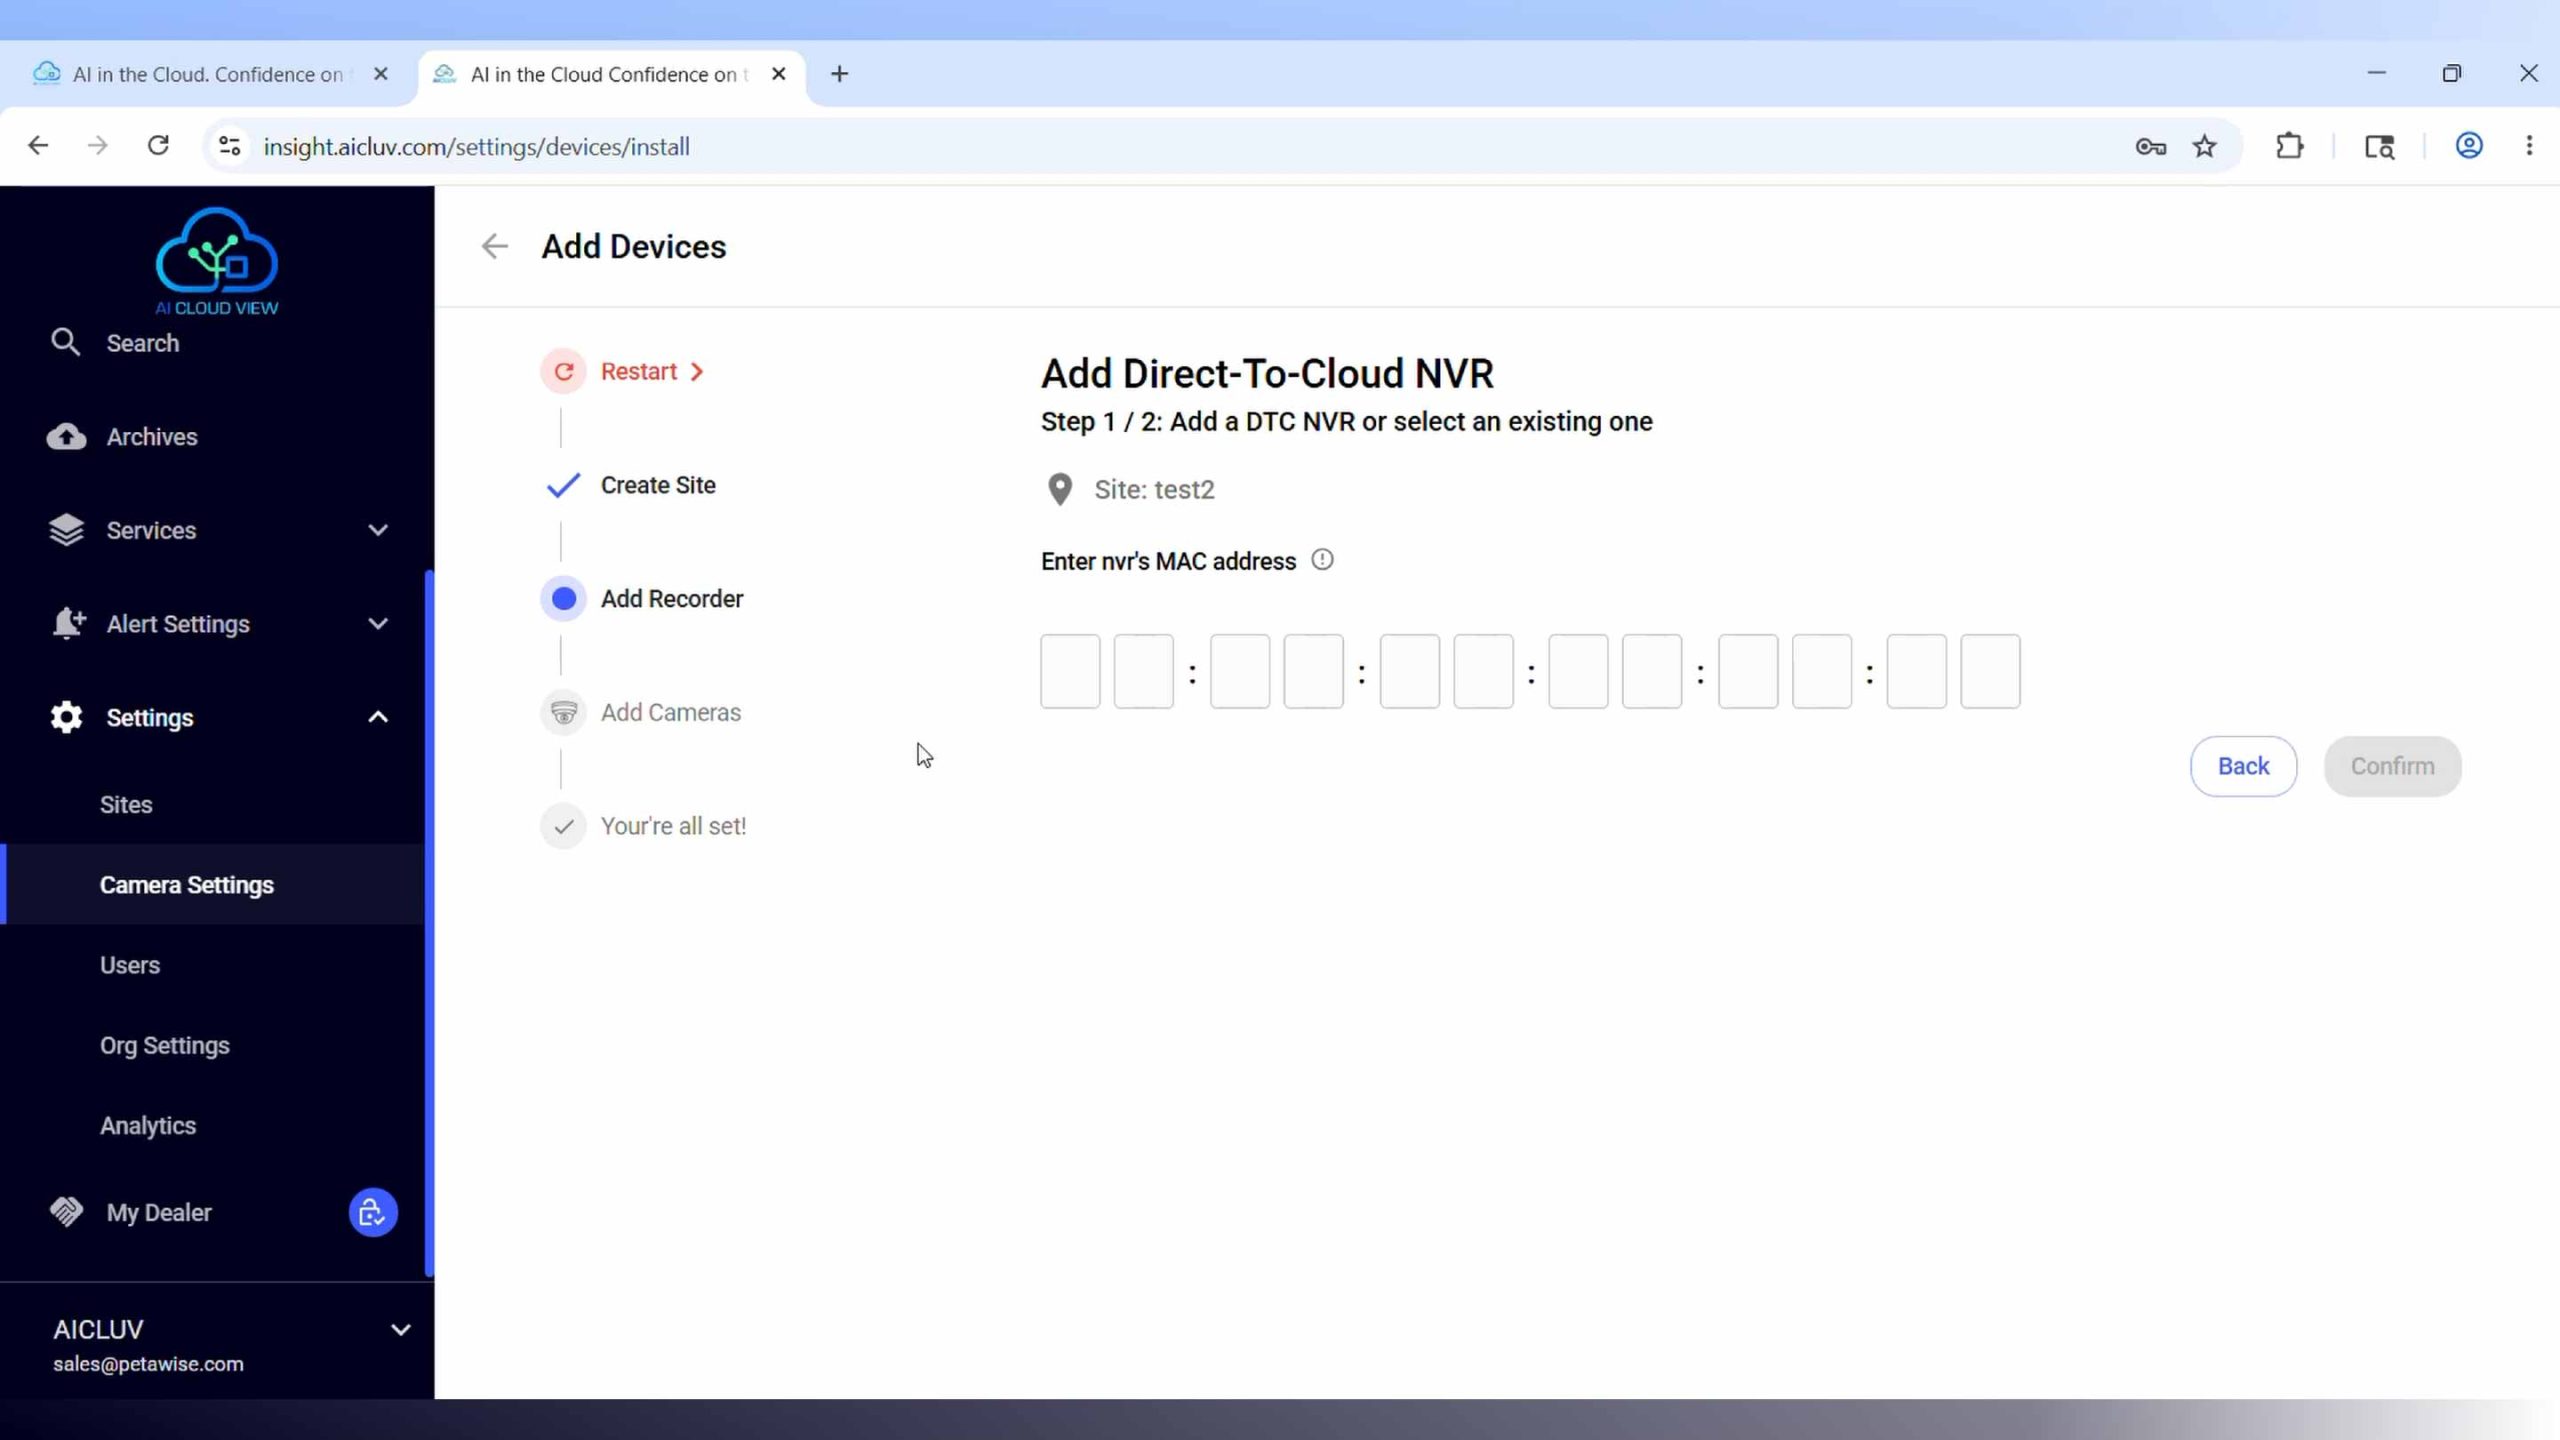
Discover & Name Cameras
Choose whether your cameras are installed via Plug & Play or a PoE switch. AI Cloud View will scan the NVR and display connected cameras. Click to add them, assign custom names, and set up the local time zone.
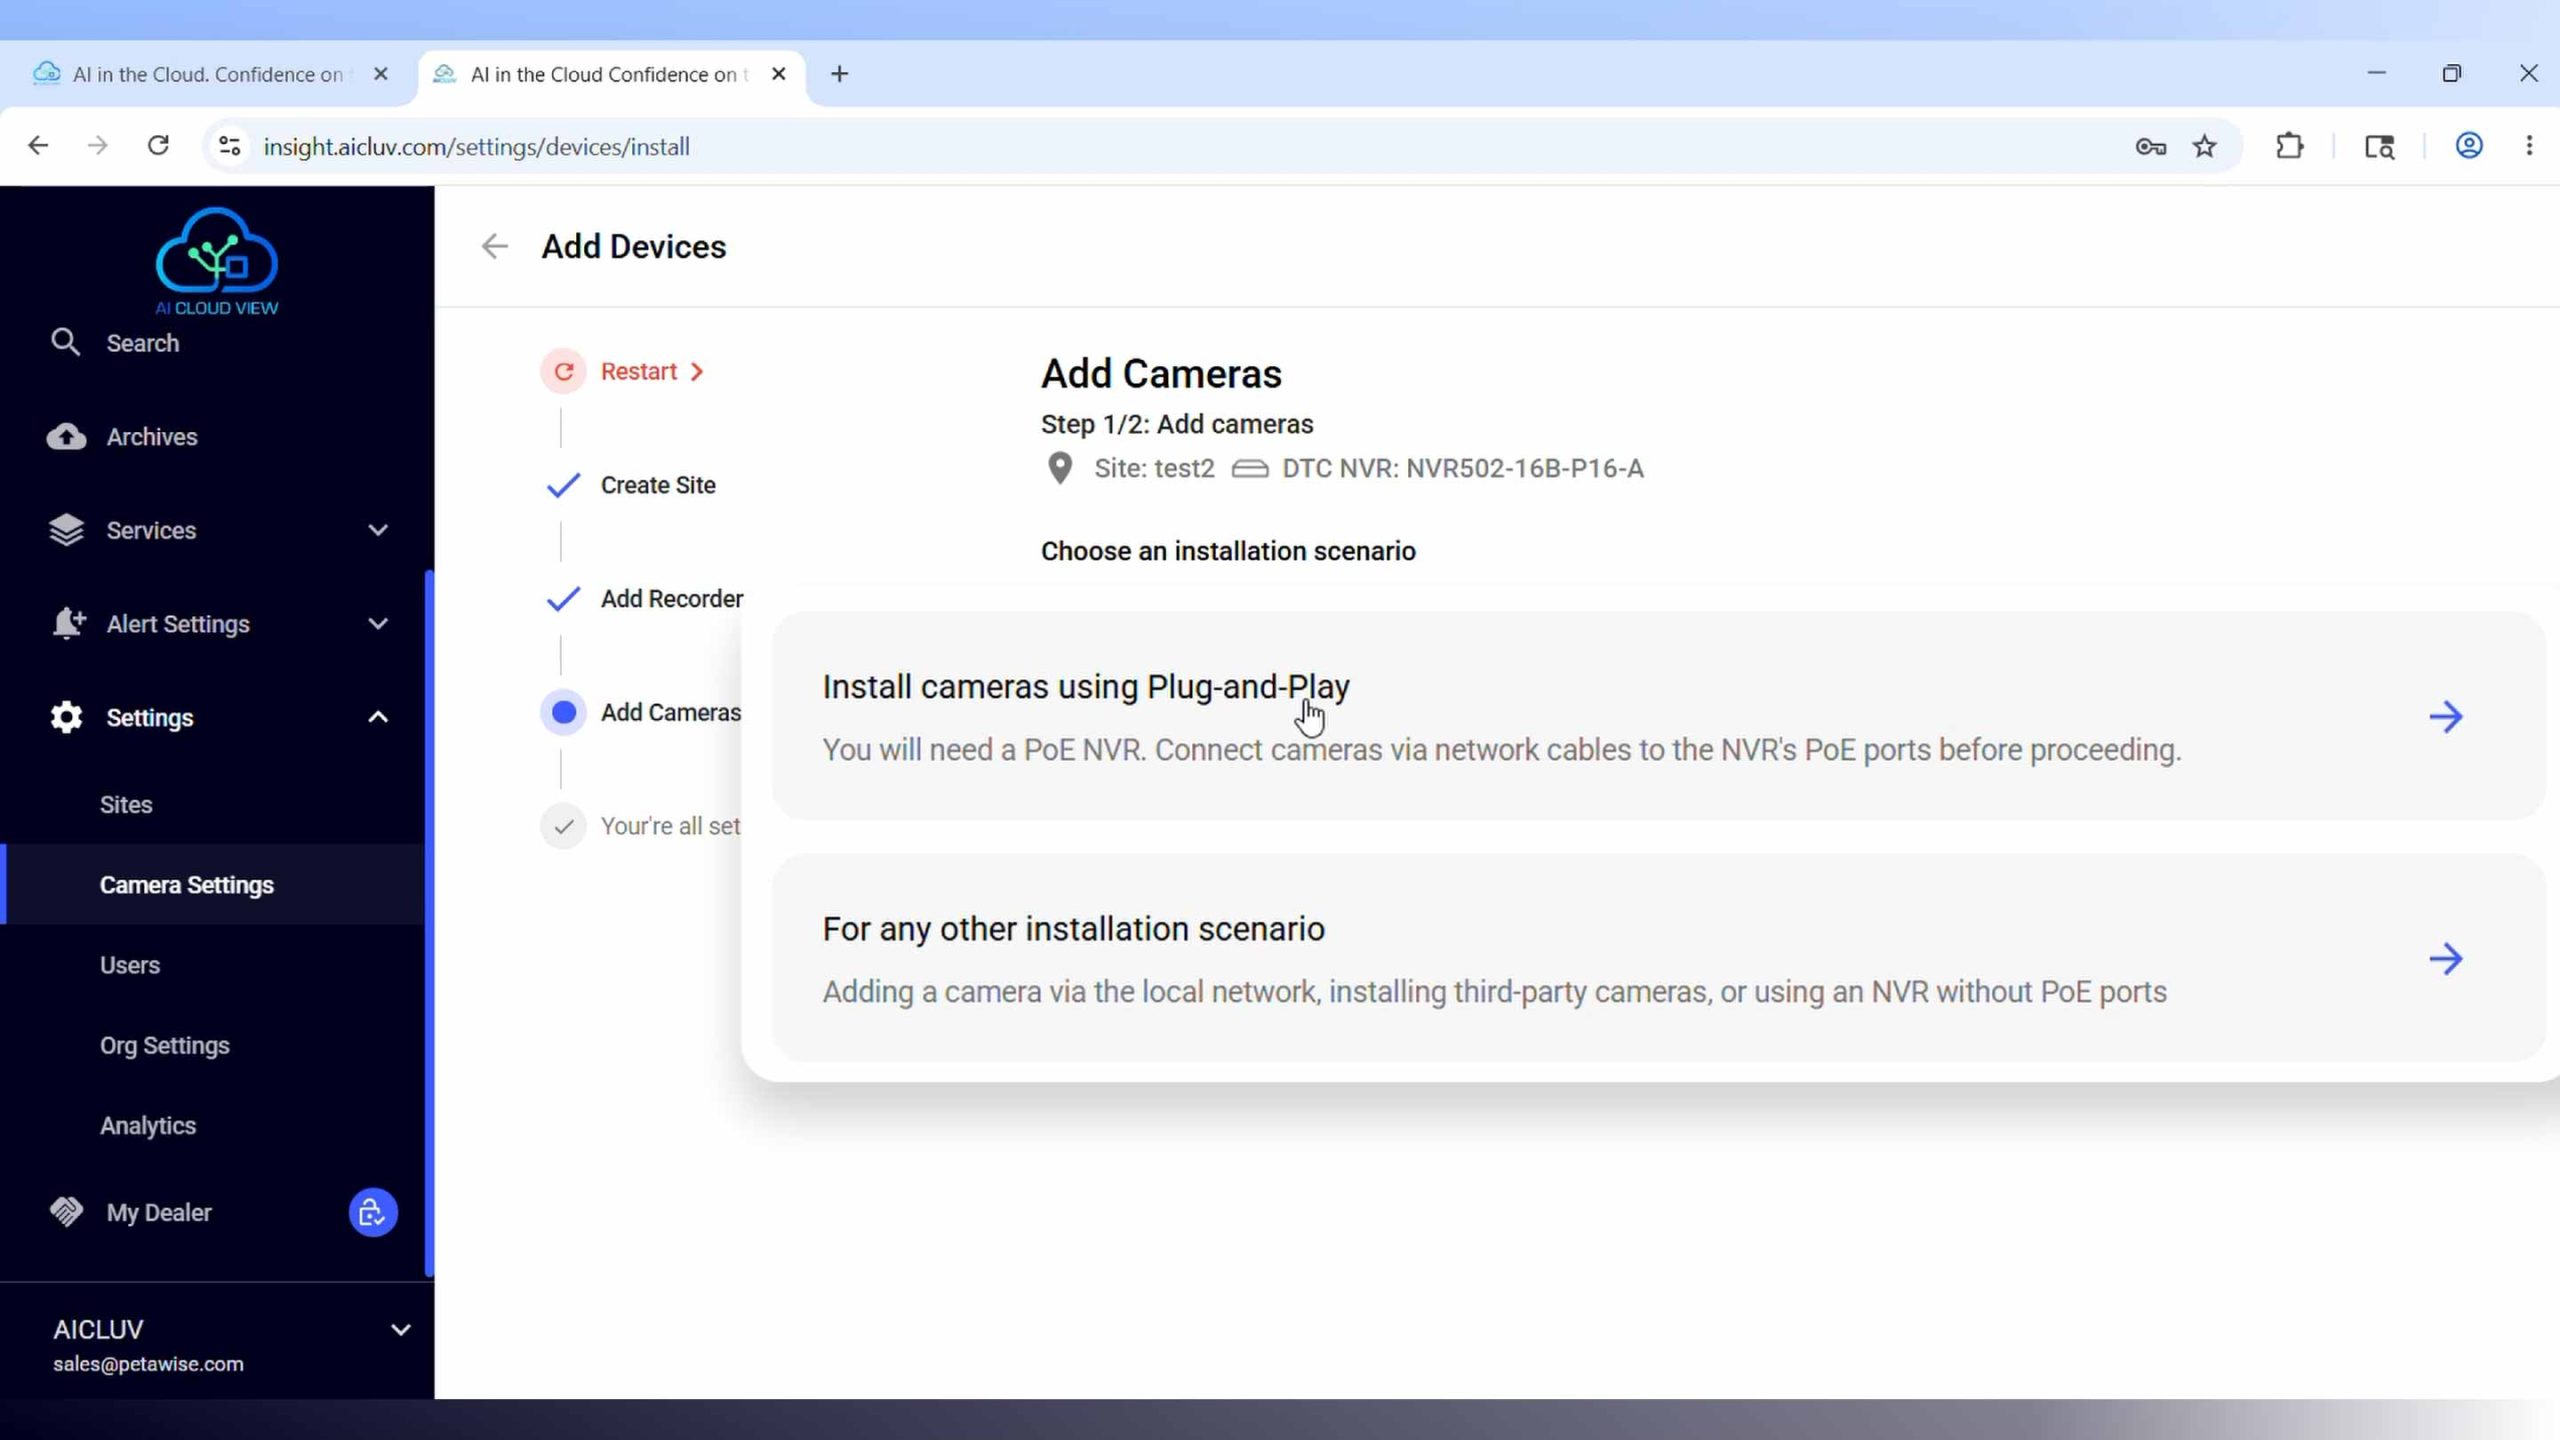
Manage AI Licenses
Navigate to the cameras menu. You can transfer existing valid licenses to your new hardware, or request new 1-year / 3-year licenses directly from your dealer by clicking “Request Licenses” at the top of the menu.
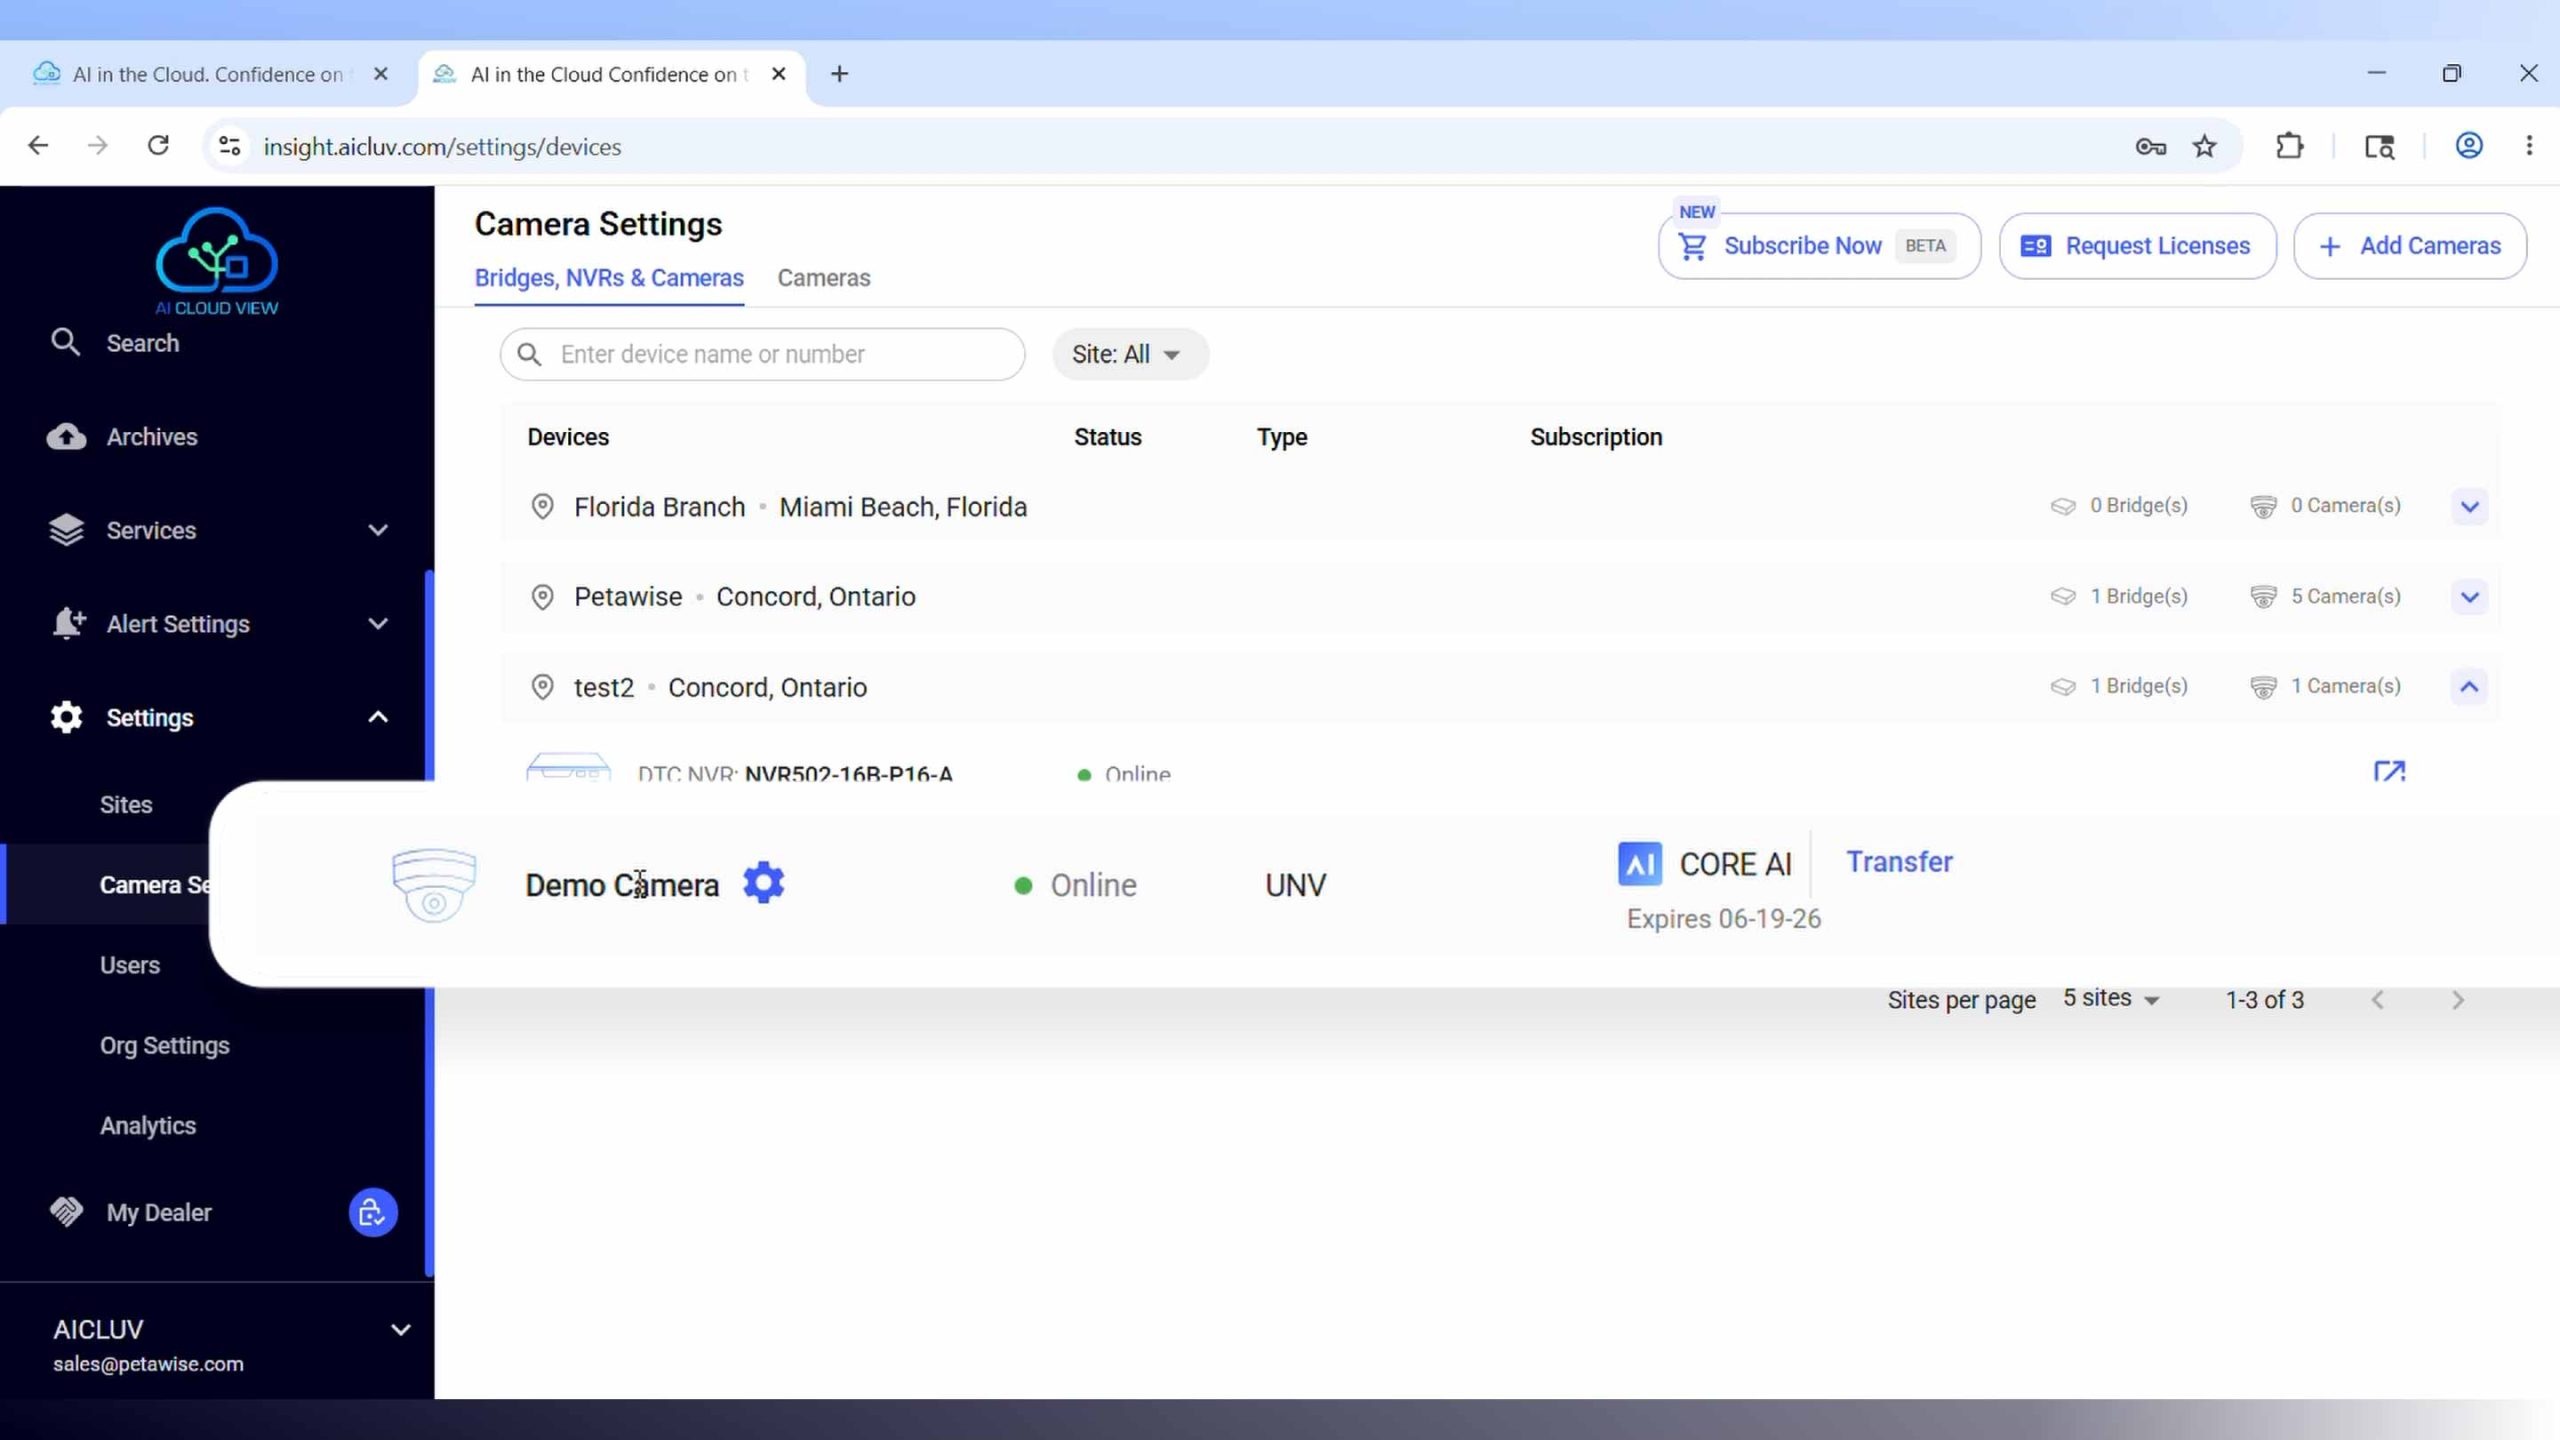
Configure Cloud Encoding
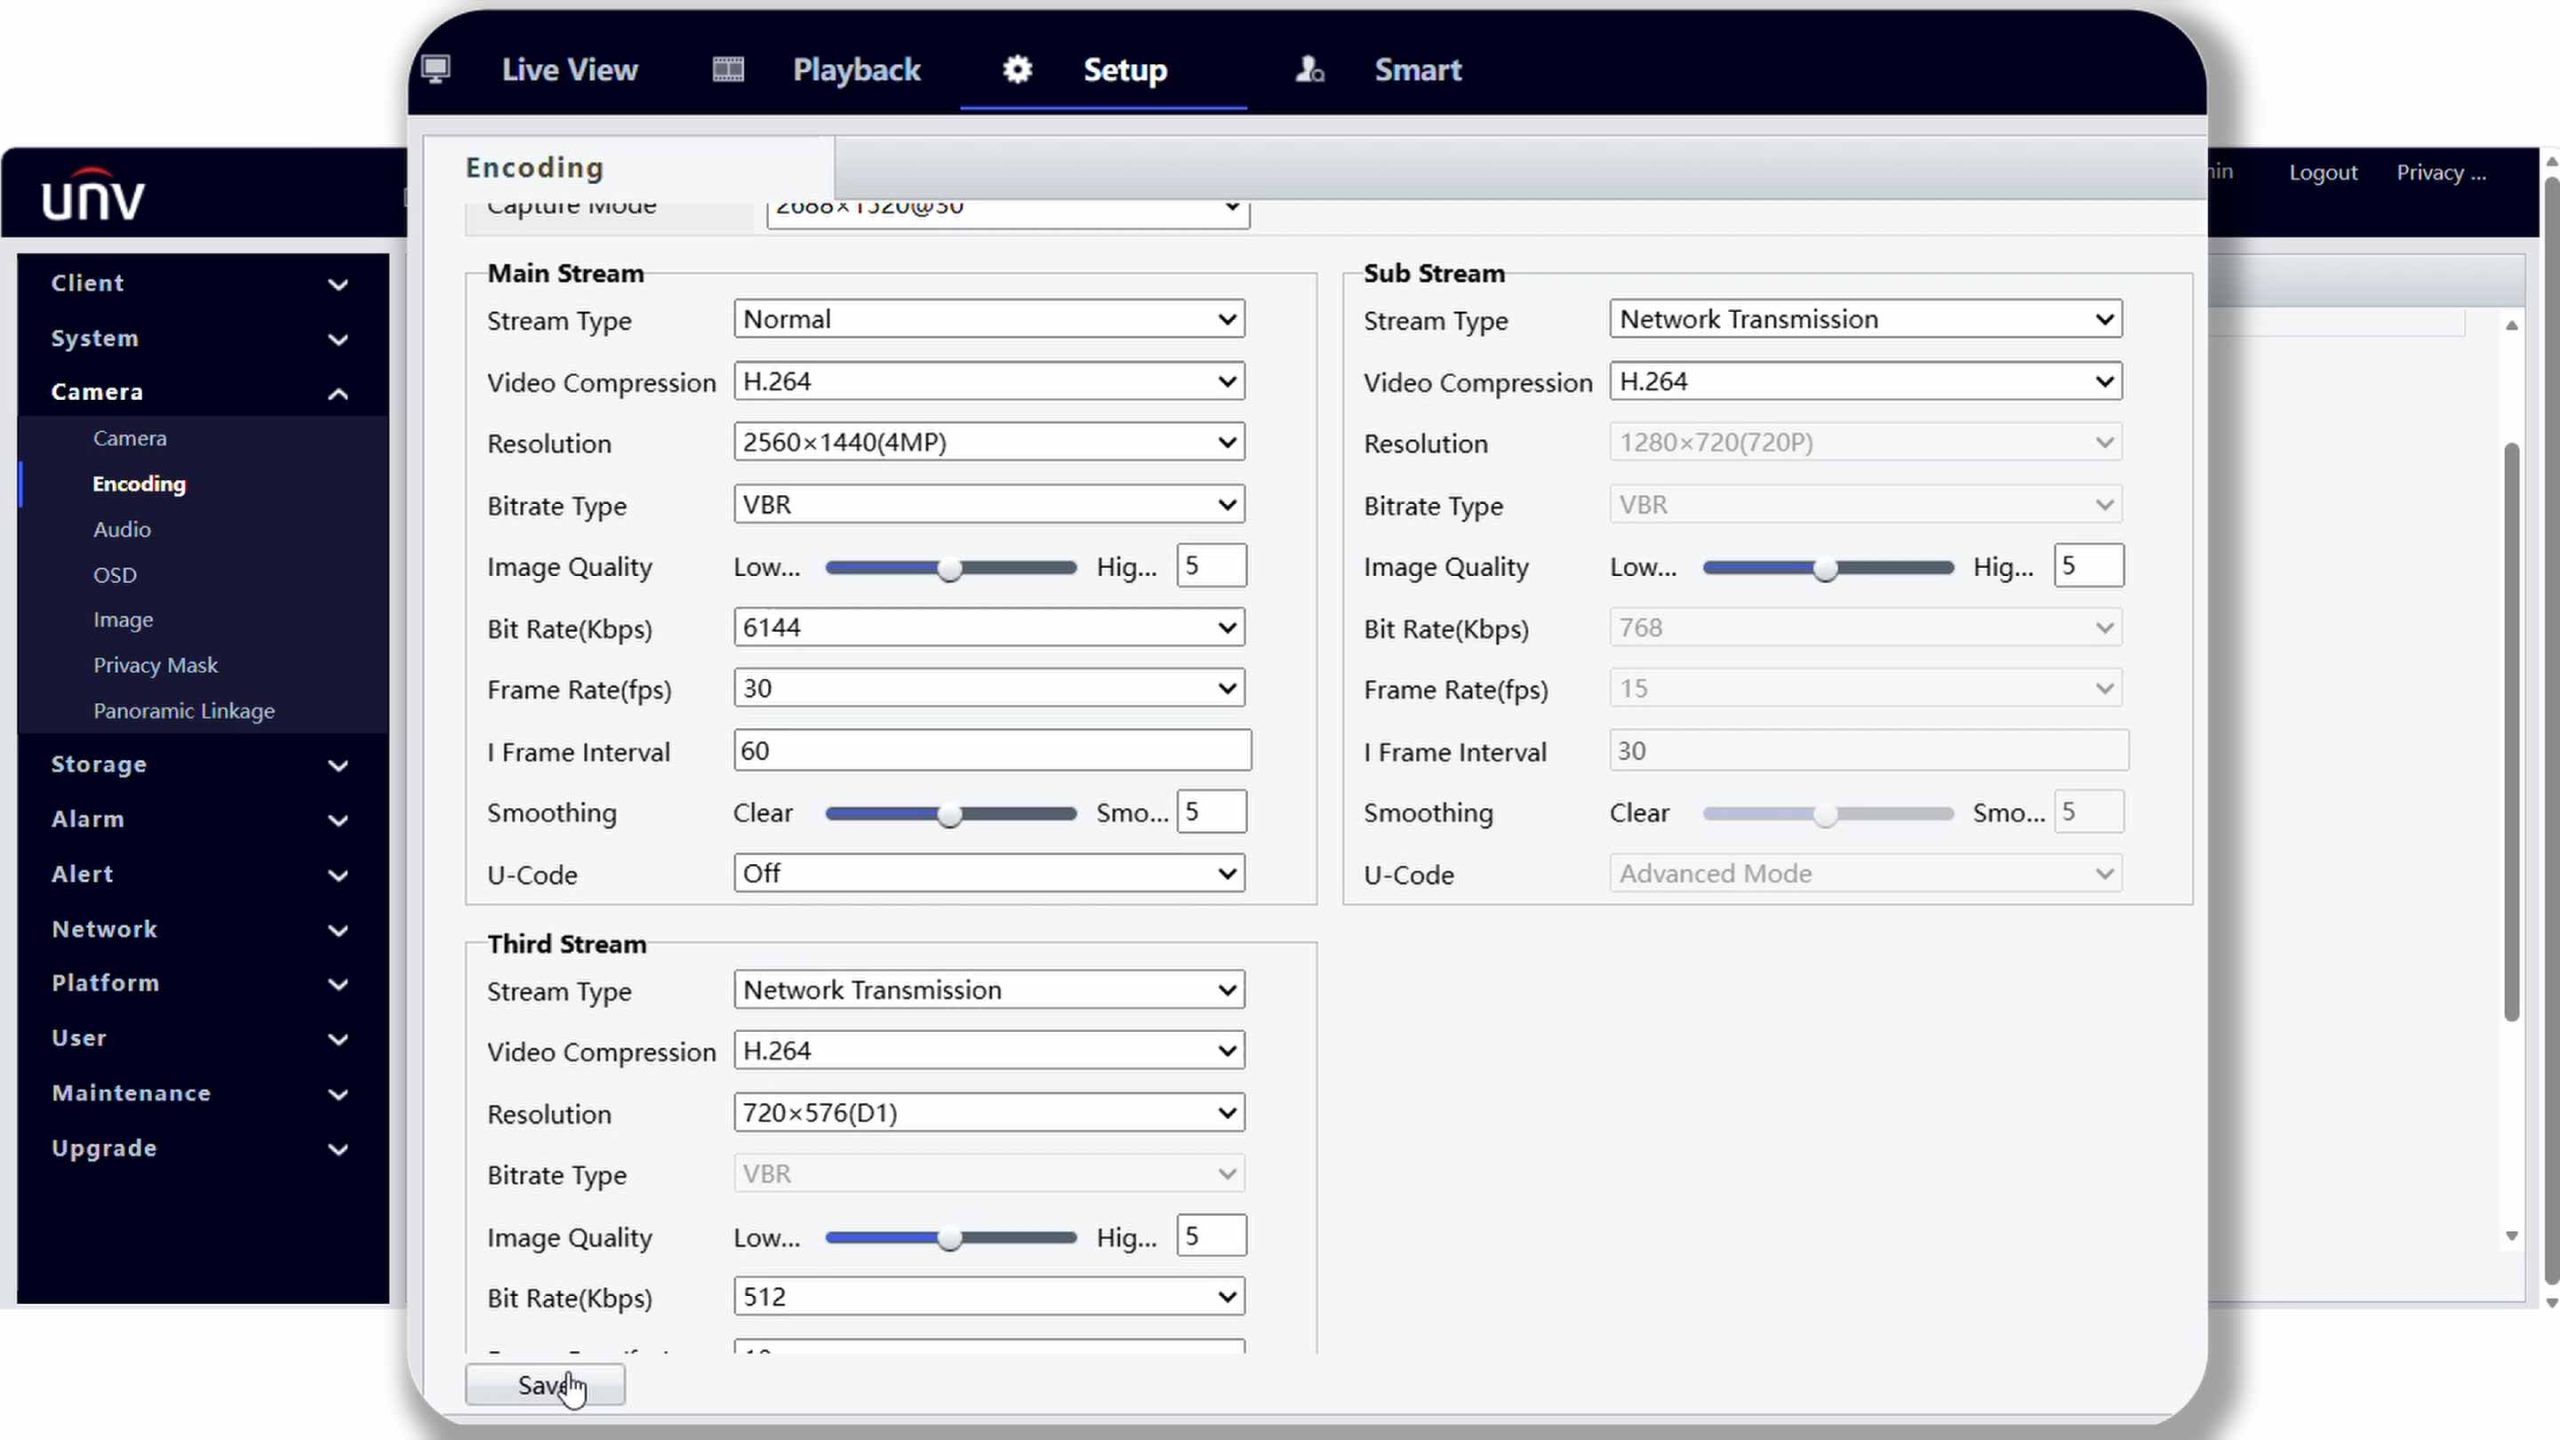
Log into the NVR web interface. Under Encoding, set the Main Stream to H.264, max 4MP, and capped at 2408 kbps. Set the Substream to H.264, max 720p, and 15 fps. This ensures flawless cloud event processing and alerting.