AI Cloud View Dealer Setup Guide
A step-by-step onboarding and configuration workflow for authorized dealers. Follow these steps to activate NVRs, configure AI cameras, and hand off to customers.
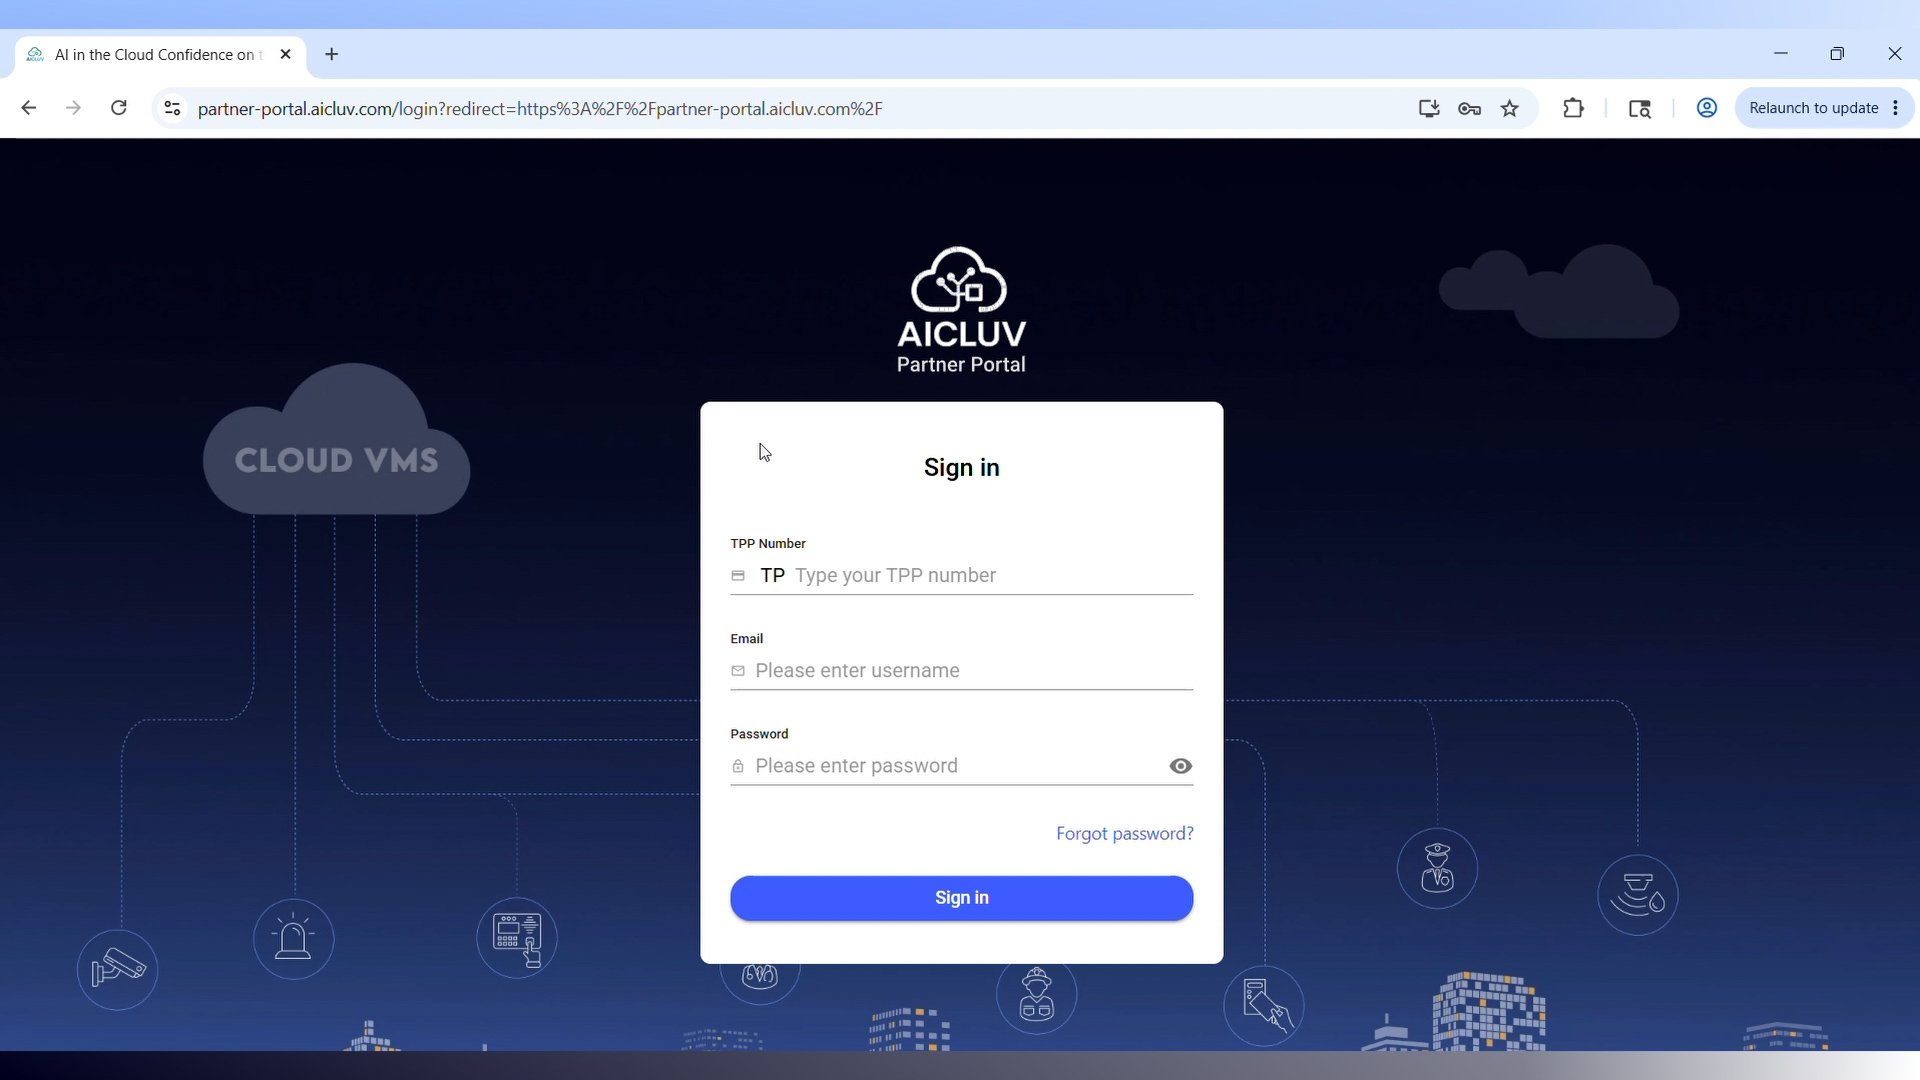
Partner Portal Login
Head over to the AI Cloud View website and select the Authorized Dealer Portal. Log in using your unique TPP number, email, and password to access your dashboard overview.
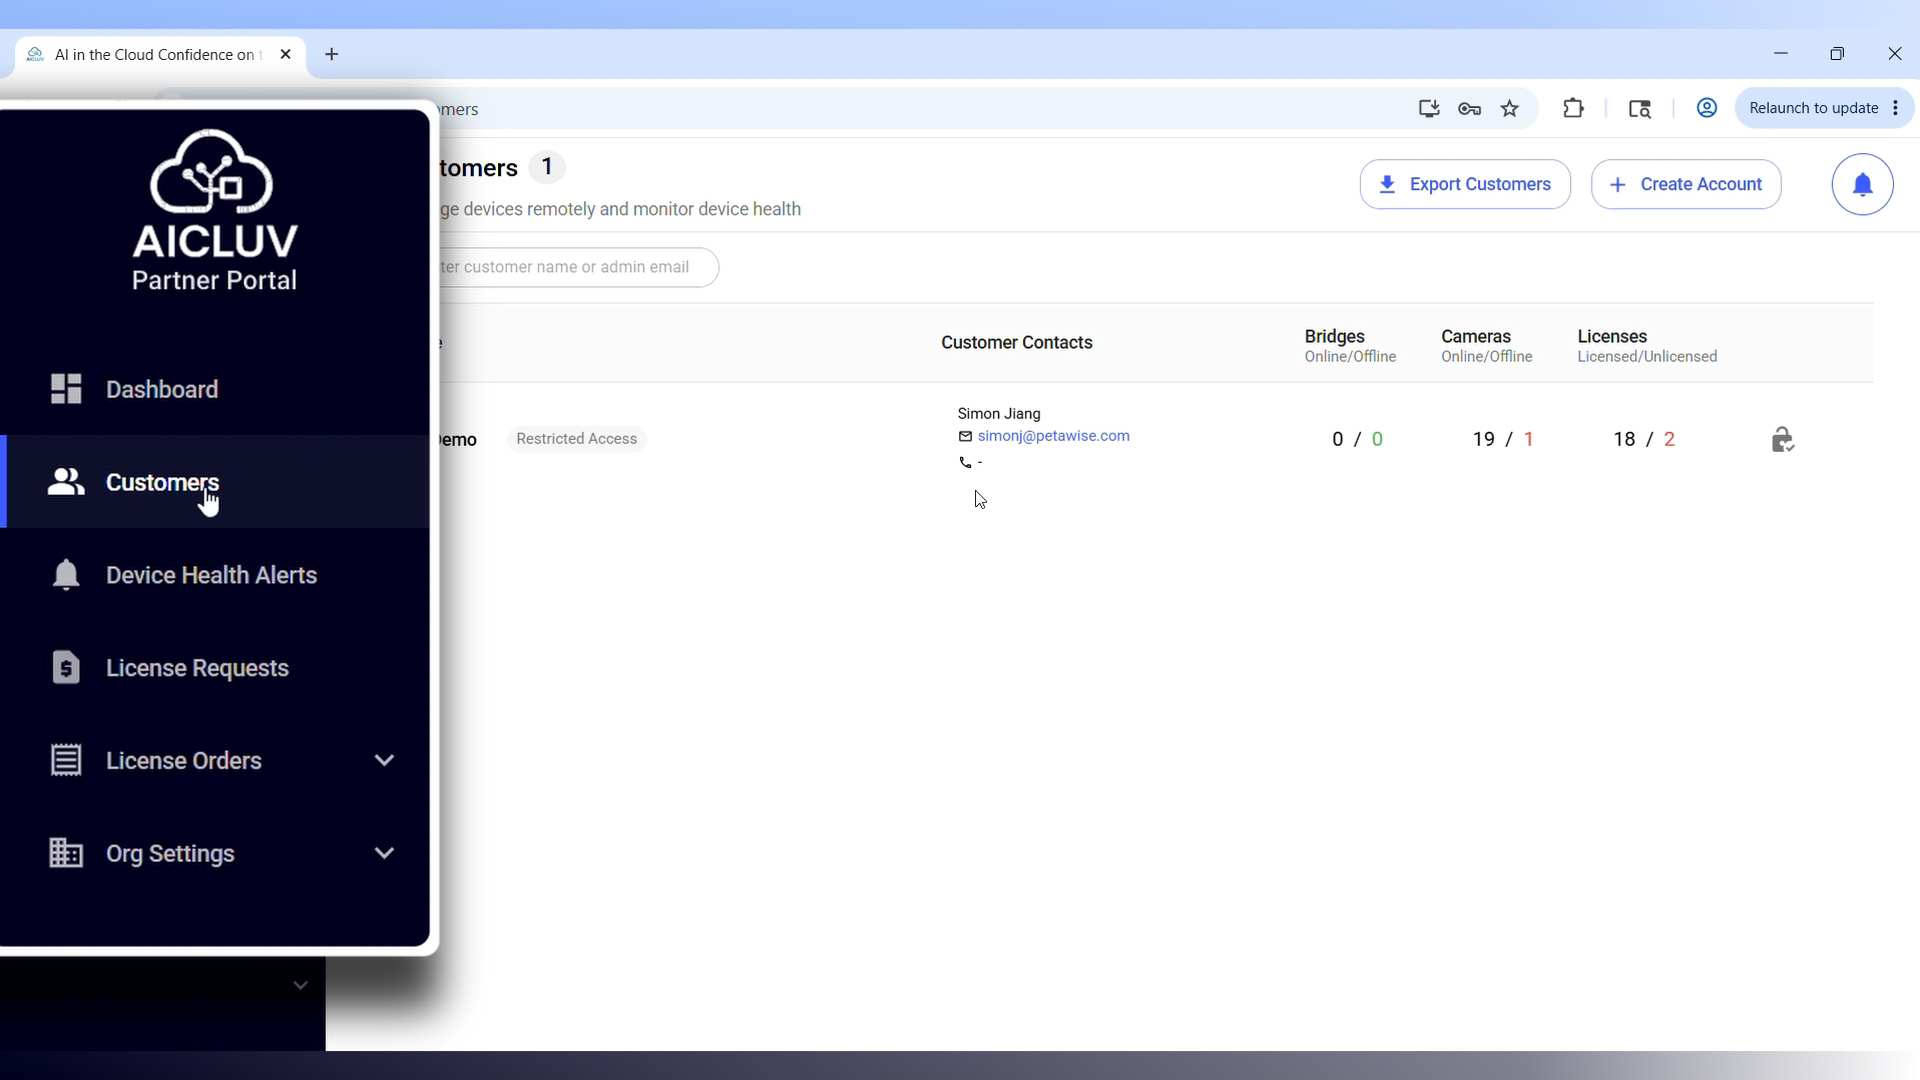
Create Customer Account
Navigate to the Customers section. Enter the reference name, email address, phone number, and physical address. Google Search integration will auto-populate the location.
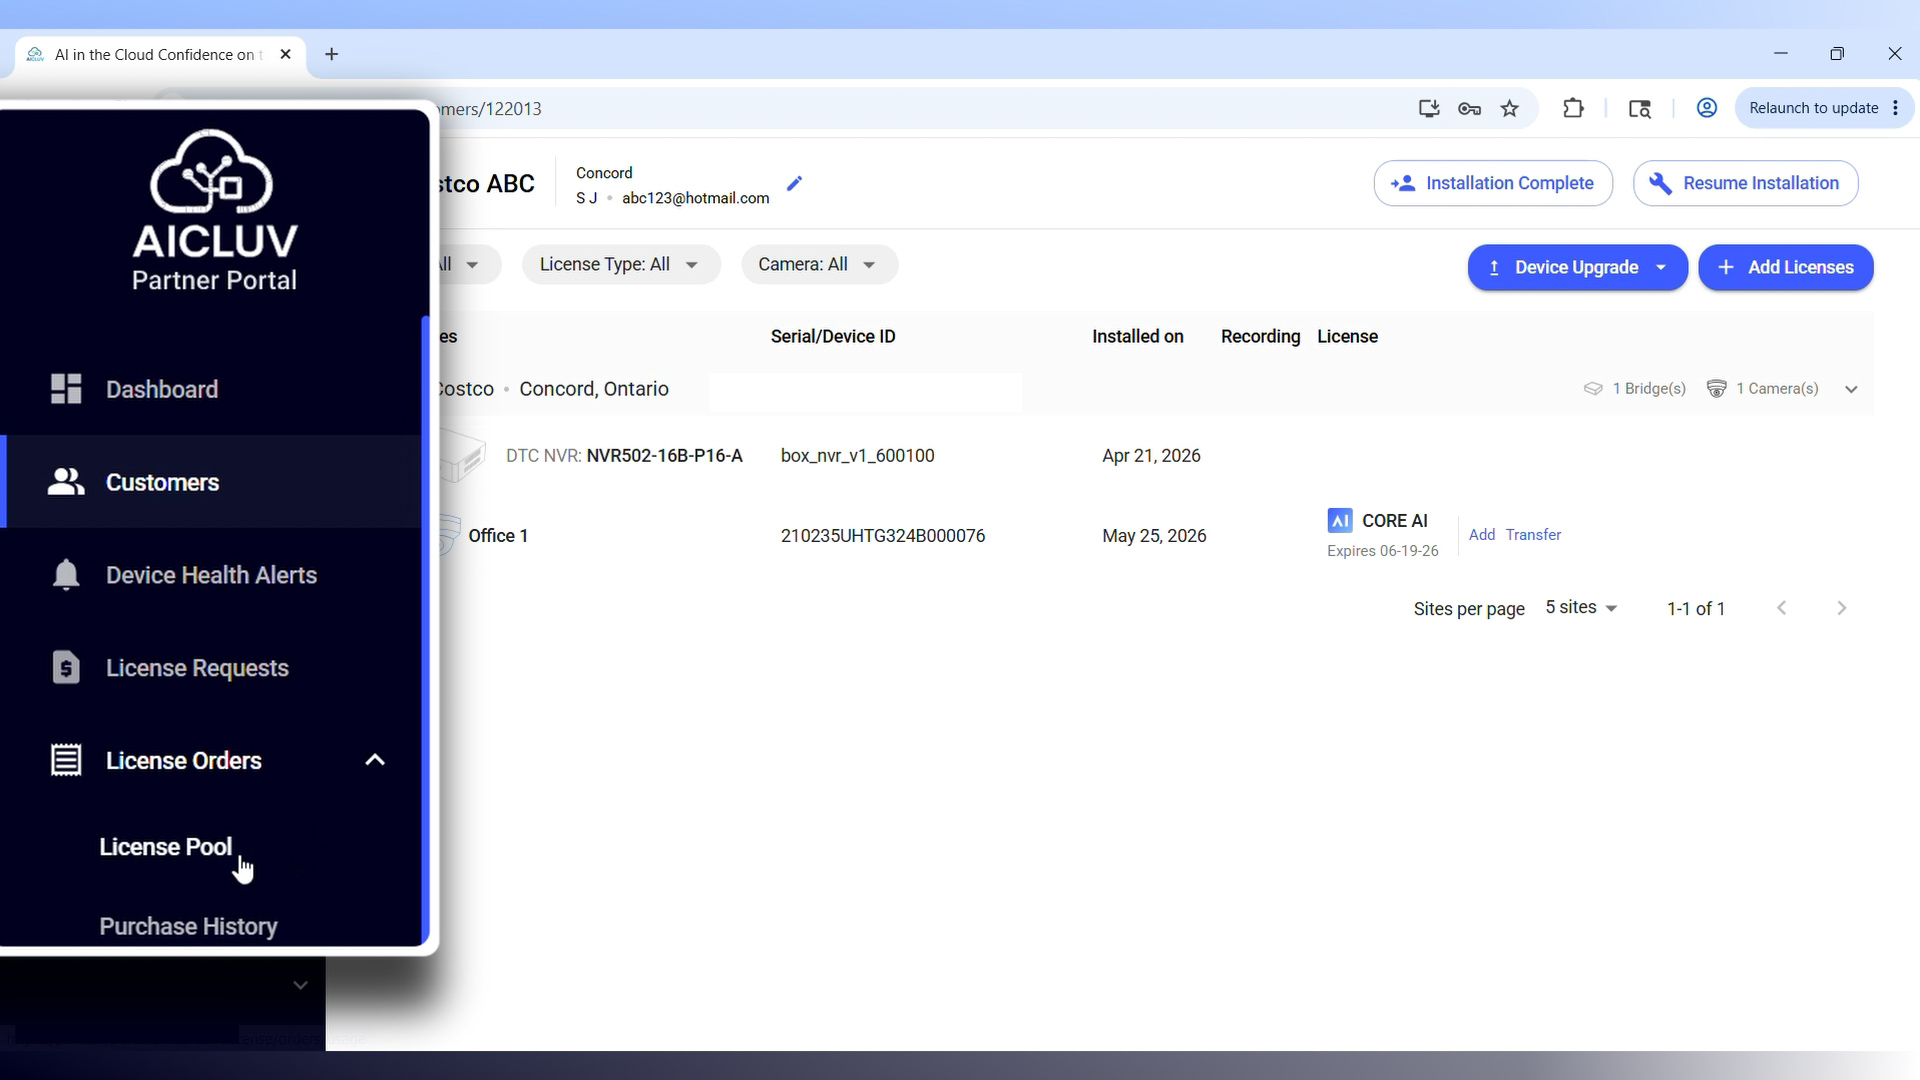
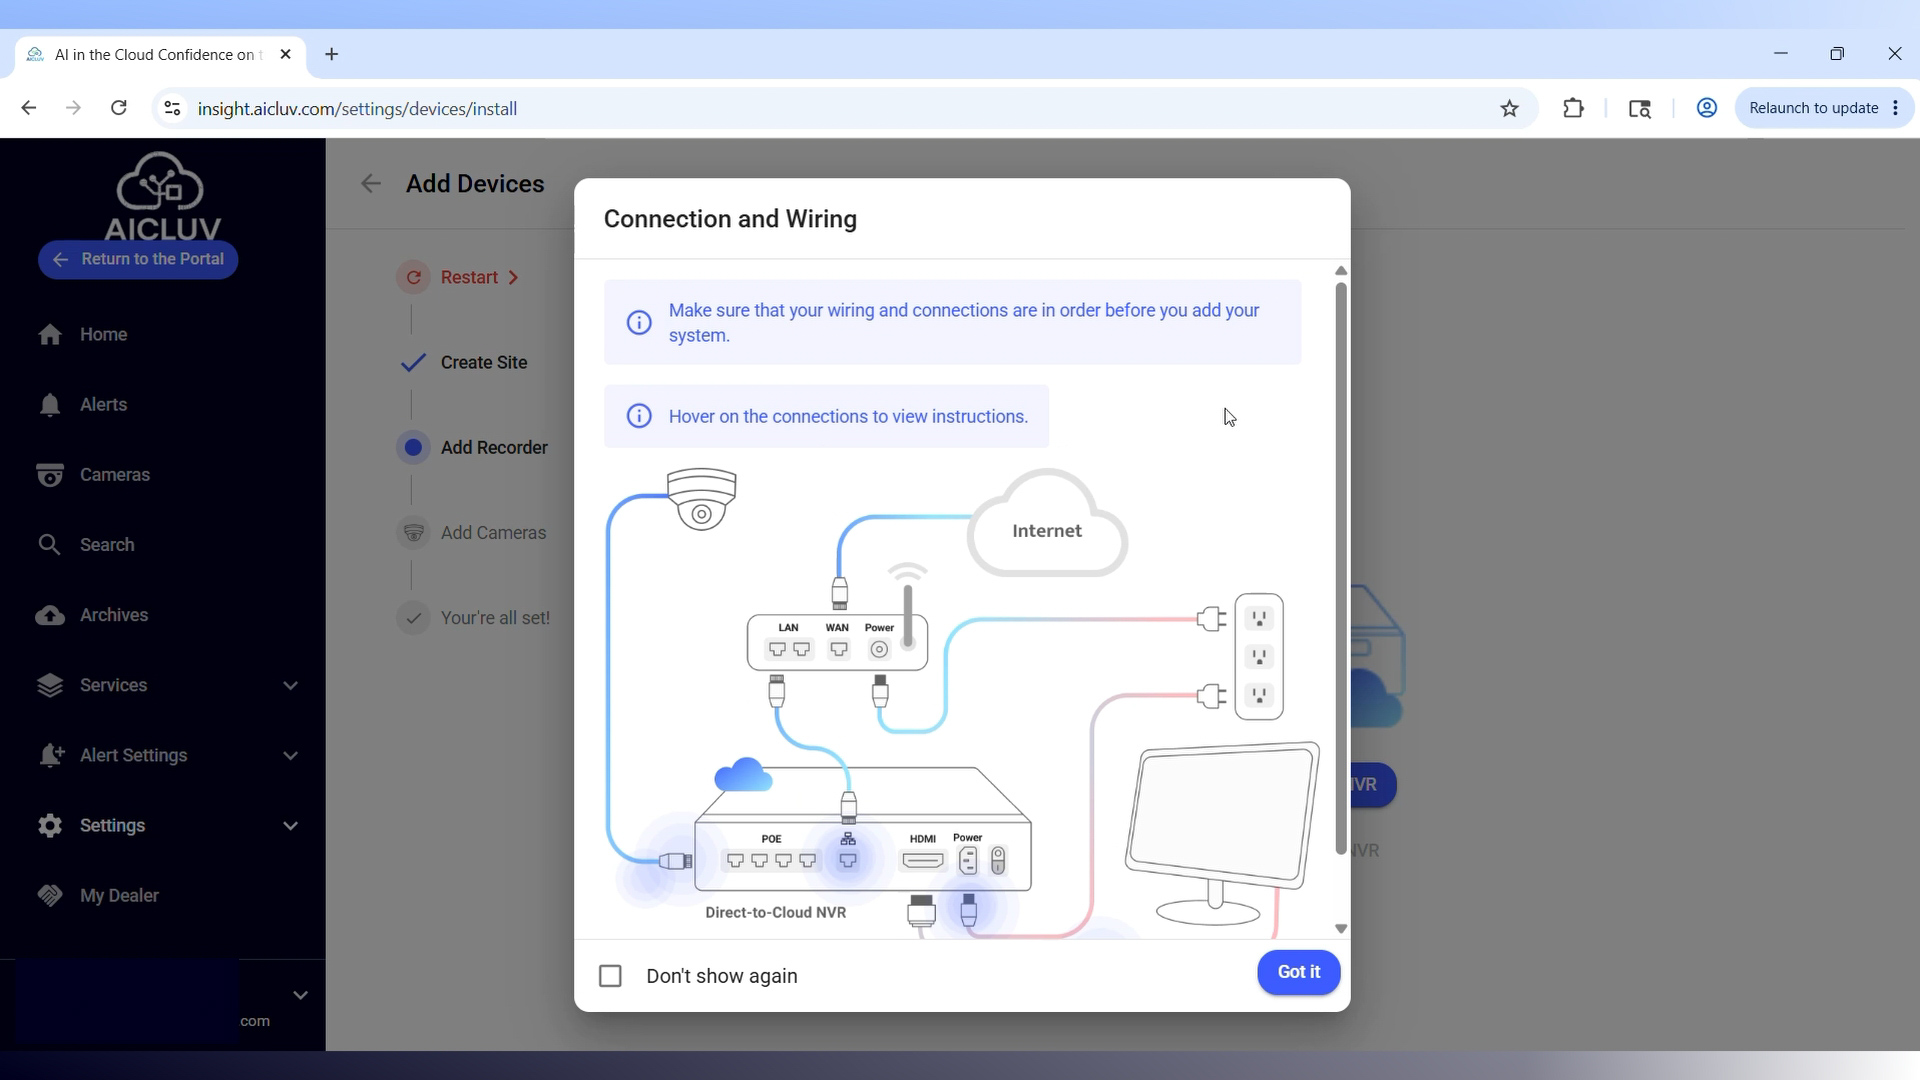
Setup & Activate NVR
Connect the internet line to the NVR’s uplink port. Add the NVR using its MAC address, assign it a name, and set a password. Ensure encoding is set to H.264 with 720p sub-resolution.
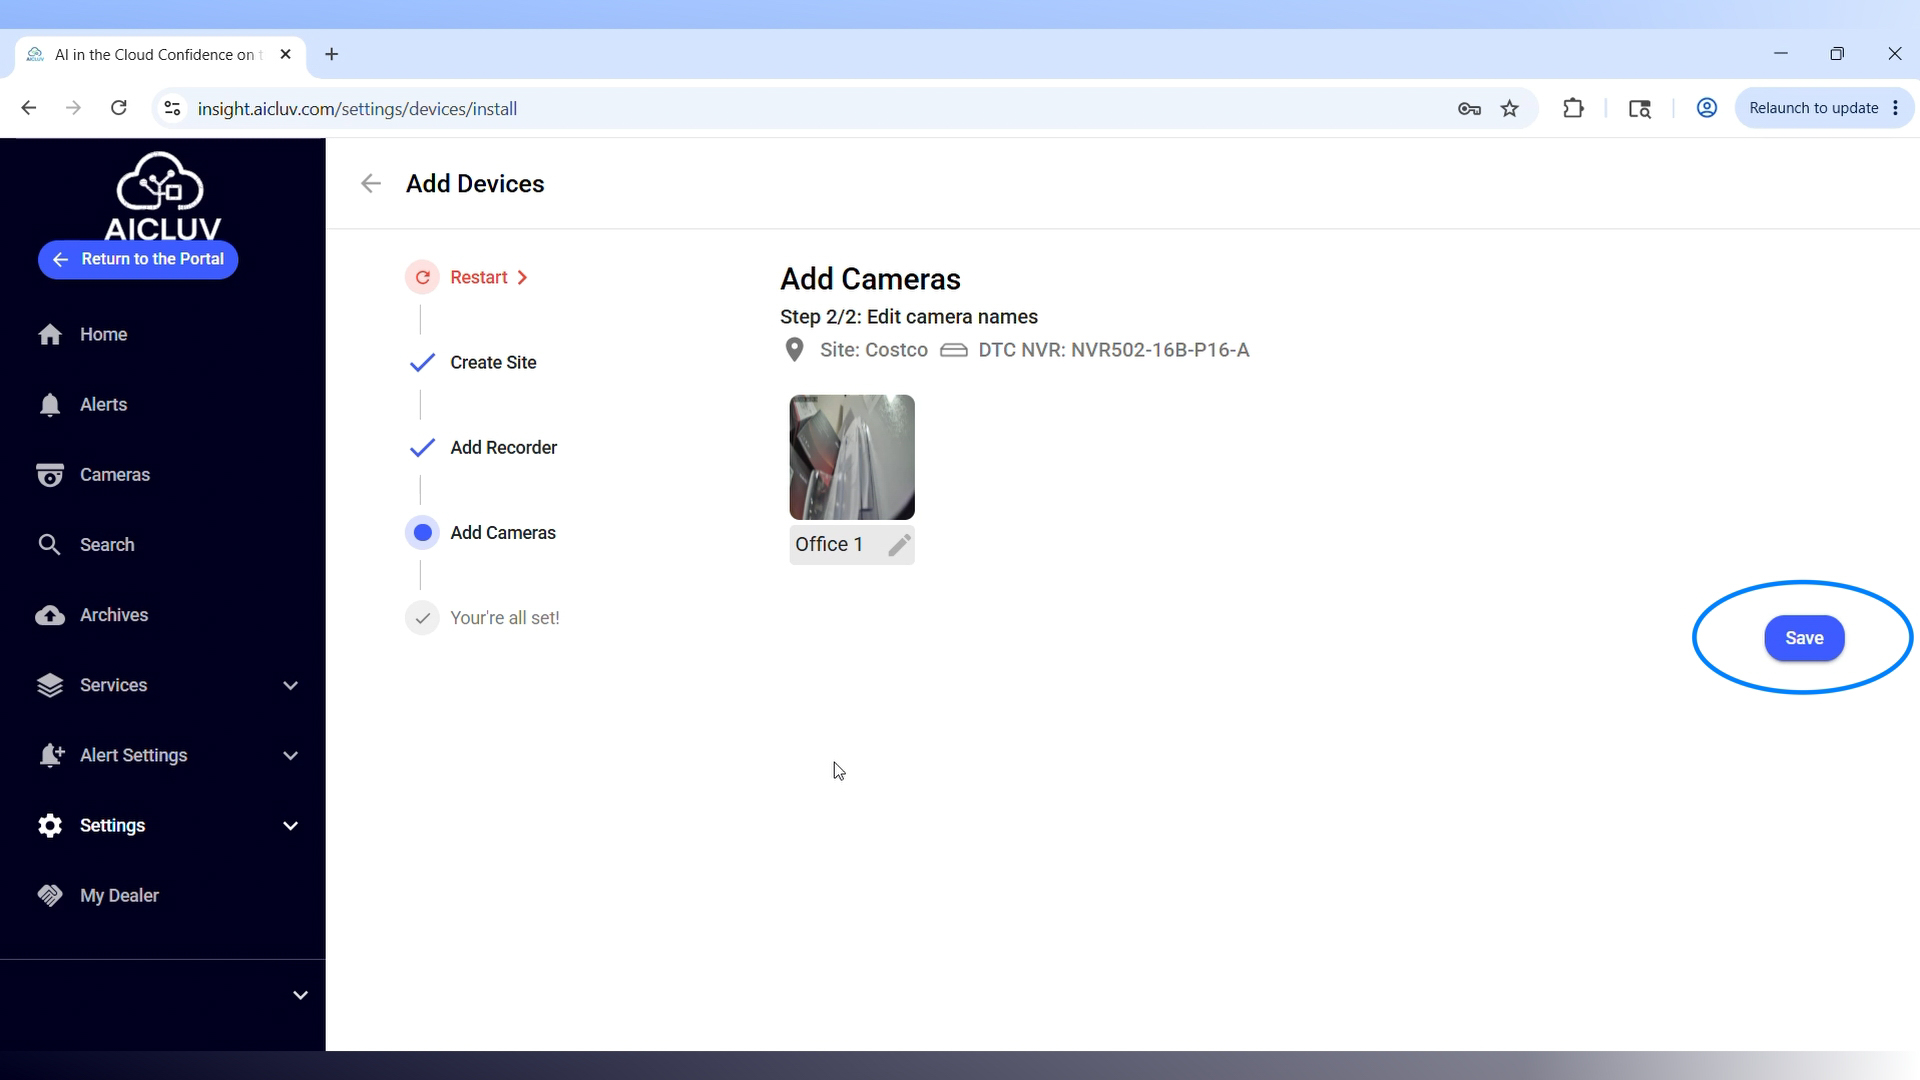
Add & Configure Cameras
Detect and add cameras over the network or PoE ports. Rename them, set time zones, and enable intelligent analytics like intrusion detection by drawing target areas and specifying targets (humans/vehicles).
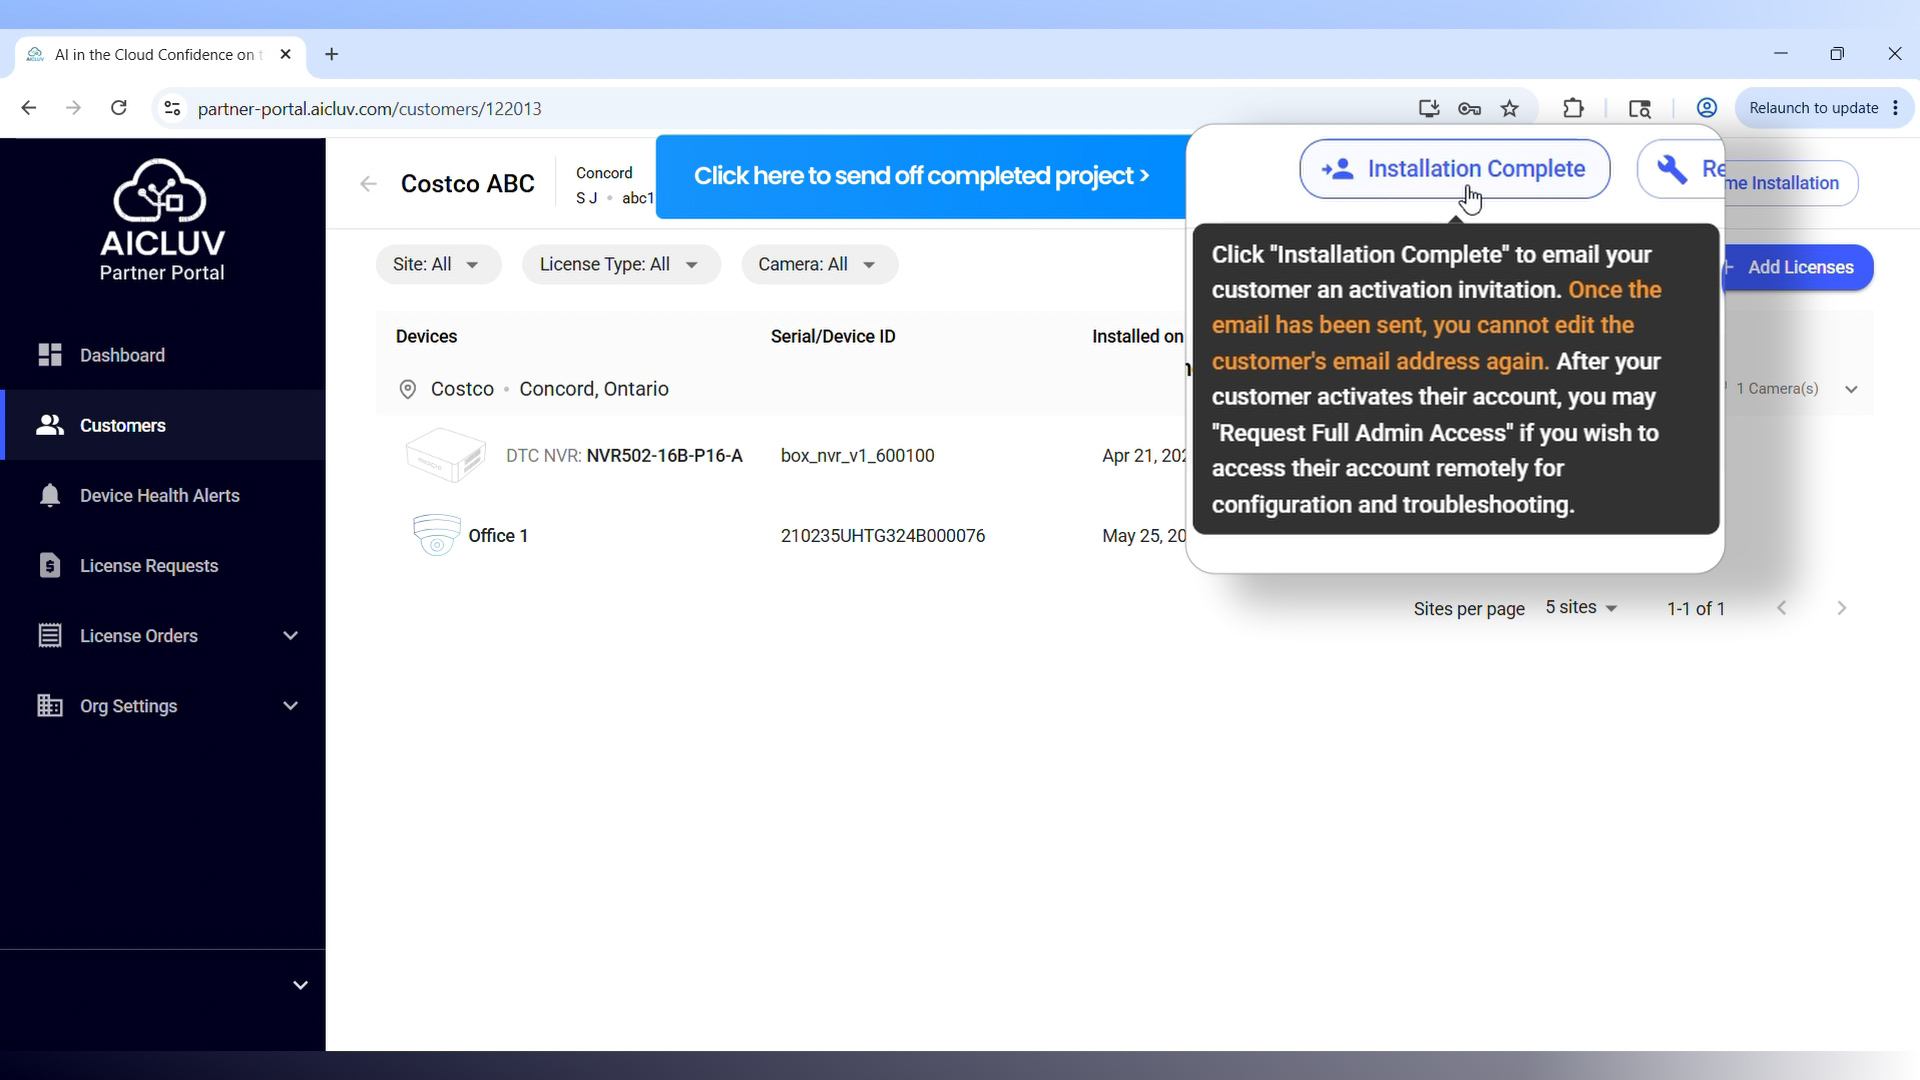
Customer Handoff
Once setup is complete, a welcome email is automatically sent to the customer. They can register to log in, view cameras, watch playback, and search events independently.
Add AI Software Licenses
Apply 1-year or 3-year AI licenses to customer NVRs directly from your portal. You can replenish your pool by redeeming digital license keys in the ‘License Pool’ section.